Your bird box needs to be safe from predators, warm, dry and well insulated
You’ll need a length of timber, a few basic tools, a modest DIY ability and a couple of other bits and bobs. You’ll find full guidance below…
Design Basics
Material:
- Wood is the only practical material for a home-made bird box. Anything else will have poor insulation or will be too fragile.
- Wood should be around 1.5cm thick to provide adequate strength and insulation.
- It may be better to use non-treated wood, but modern pressure-treated wood is safe and should be fine.
Size:
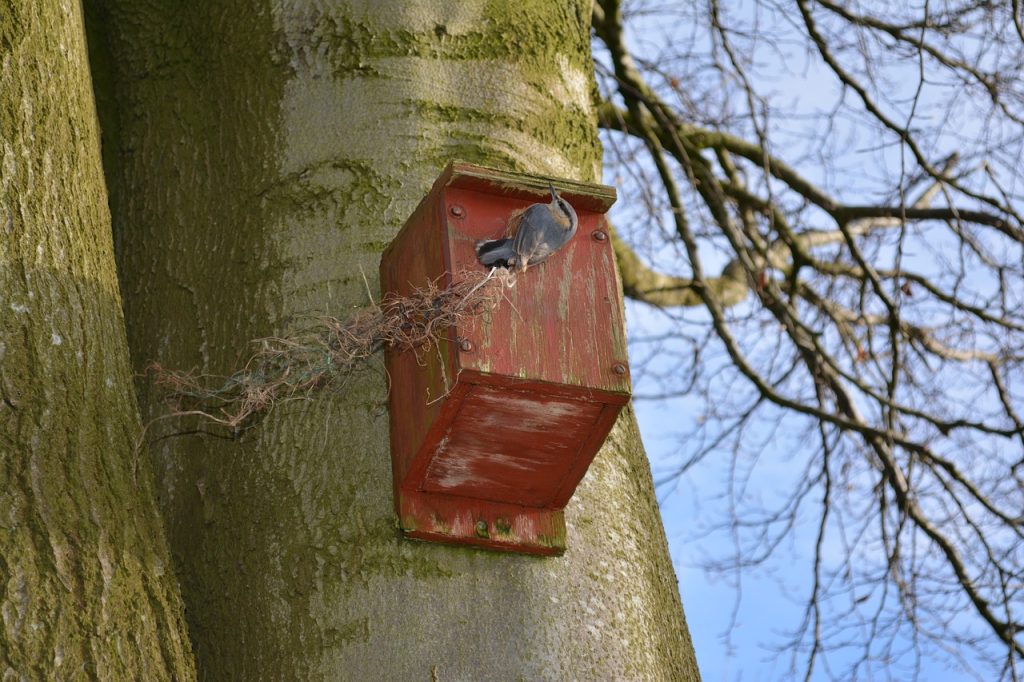
- The size of the box depends on the type of bird you wish to attract. The guidance below is for a bird-box suitable for house-sparrows, nuthatches and smaller birds such as fly-catchers, tree-sparrows and tits.
- The hole should also be sized appropriately (32mm for house-sparrows, 28mm for tree-sparrows and 26mm for the smaller tits.)
Protection from elements and predators:
- Position as high as possible – out of reach of cats and ensure that the centre of the hole is around 130mm from the base of the box to prevent predators hooking out young birds.
- Use a water-based wood treatment on the outside of the box.
- Ensure the hinge is made from a waterproof material (rubber or plastic are best).
- Position facing North East if possible so that it is protected from the prevailing wind and rain, and also sheltered from strong sunlight and temperature fluctuations.
- A slanting and overhanging roof will prevent water ingress.
Construction Basics
The easiest way to make your bird box is from a length of decking timber, gravel-board or similar wood. Ideally your timber should be 150mm-180mm wide and about 1.5 metres or longer. 15mm – 20mm is an ideal width.
You will need to cut your plank as follows:
2 x sides (150mm x 200mm x 250mm)
1 x back (150mm x 350mm)
1 x roof (150mm x 220mm)
1 x front (150mm x 200mm)
1 x base (150mm x approx 110mm)
Please note that all sides, back and roof can be cut to exactly the sizes shown but the size of the base depends on the thickness of the wood you are using. If your wood is 20mm thick then the base should be 150mm x 110mm, if it is any other width then you can calculate it by doubling the thickness of the wood and subtracting this from the width of the wood. So if your wood is 150mm wide and 16mm thick the base will be 150mm (width of plank) minus 32mm (double the thickness). So 150mm x 118mm)
So – Follow these steps:
- Mark your plank using the template on the right ensuring that you calculate the correct size for the base.
- Cut along the lines marked. (If you are able to cut at angles then the edge between the roof and front can be angled at 20 degrees).
- Cut an appropriate size hole (26, 28 or 32mm) close to the top of the front panel.
- Attach the long side of the sides to the back (preferably using stainless steel screws).
- Insert the base and secure with screws.
- Attach the front with screws.
- Attach the roof to the back using rubber or plastic strip (RSPB recommend bicycle inner-tube).
We’re still completing this section. We’ll be making a few more nest boxes soon, and photos of the different stages will be a lot easier to follow than text…….
And I’m really sorry, but despite my assurances, the weather has beaten me each time. We would like to have had a few more nest boxes up by now, but we’ll make it up in the Autumn. The good news is that we have tree sparrows in two boxes and blue tits in another. We have not seen any comings and goings from our boxes near pitch 7. But I am hopefull still.